IoT: Connecting a temperature and humidity sensor to the Internet
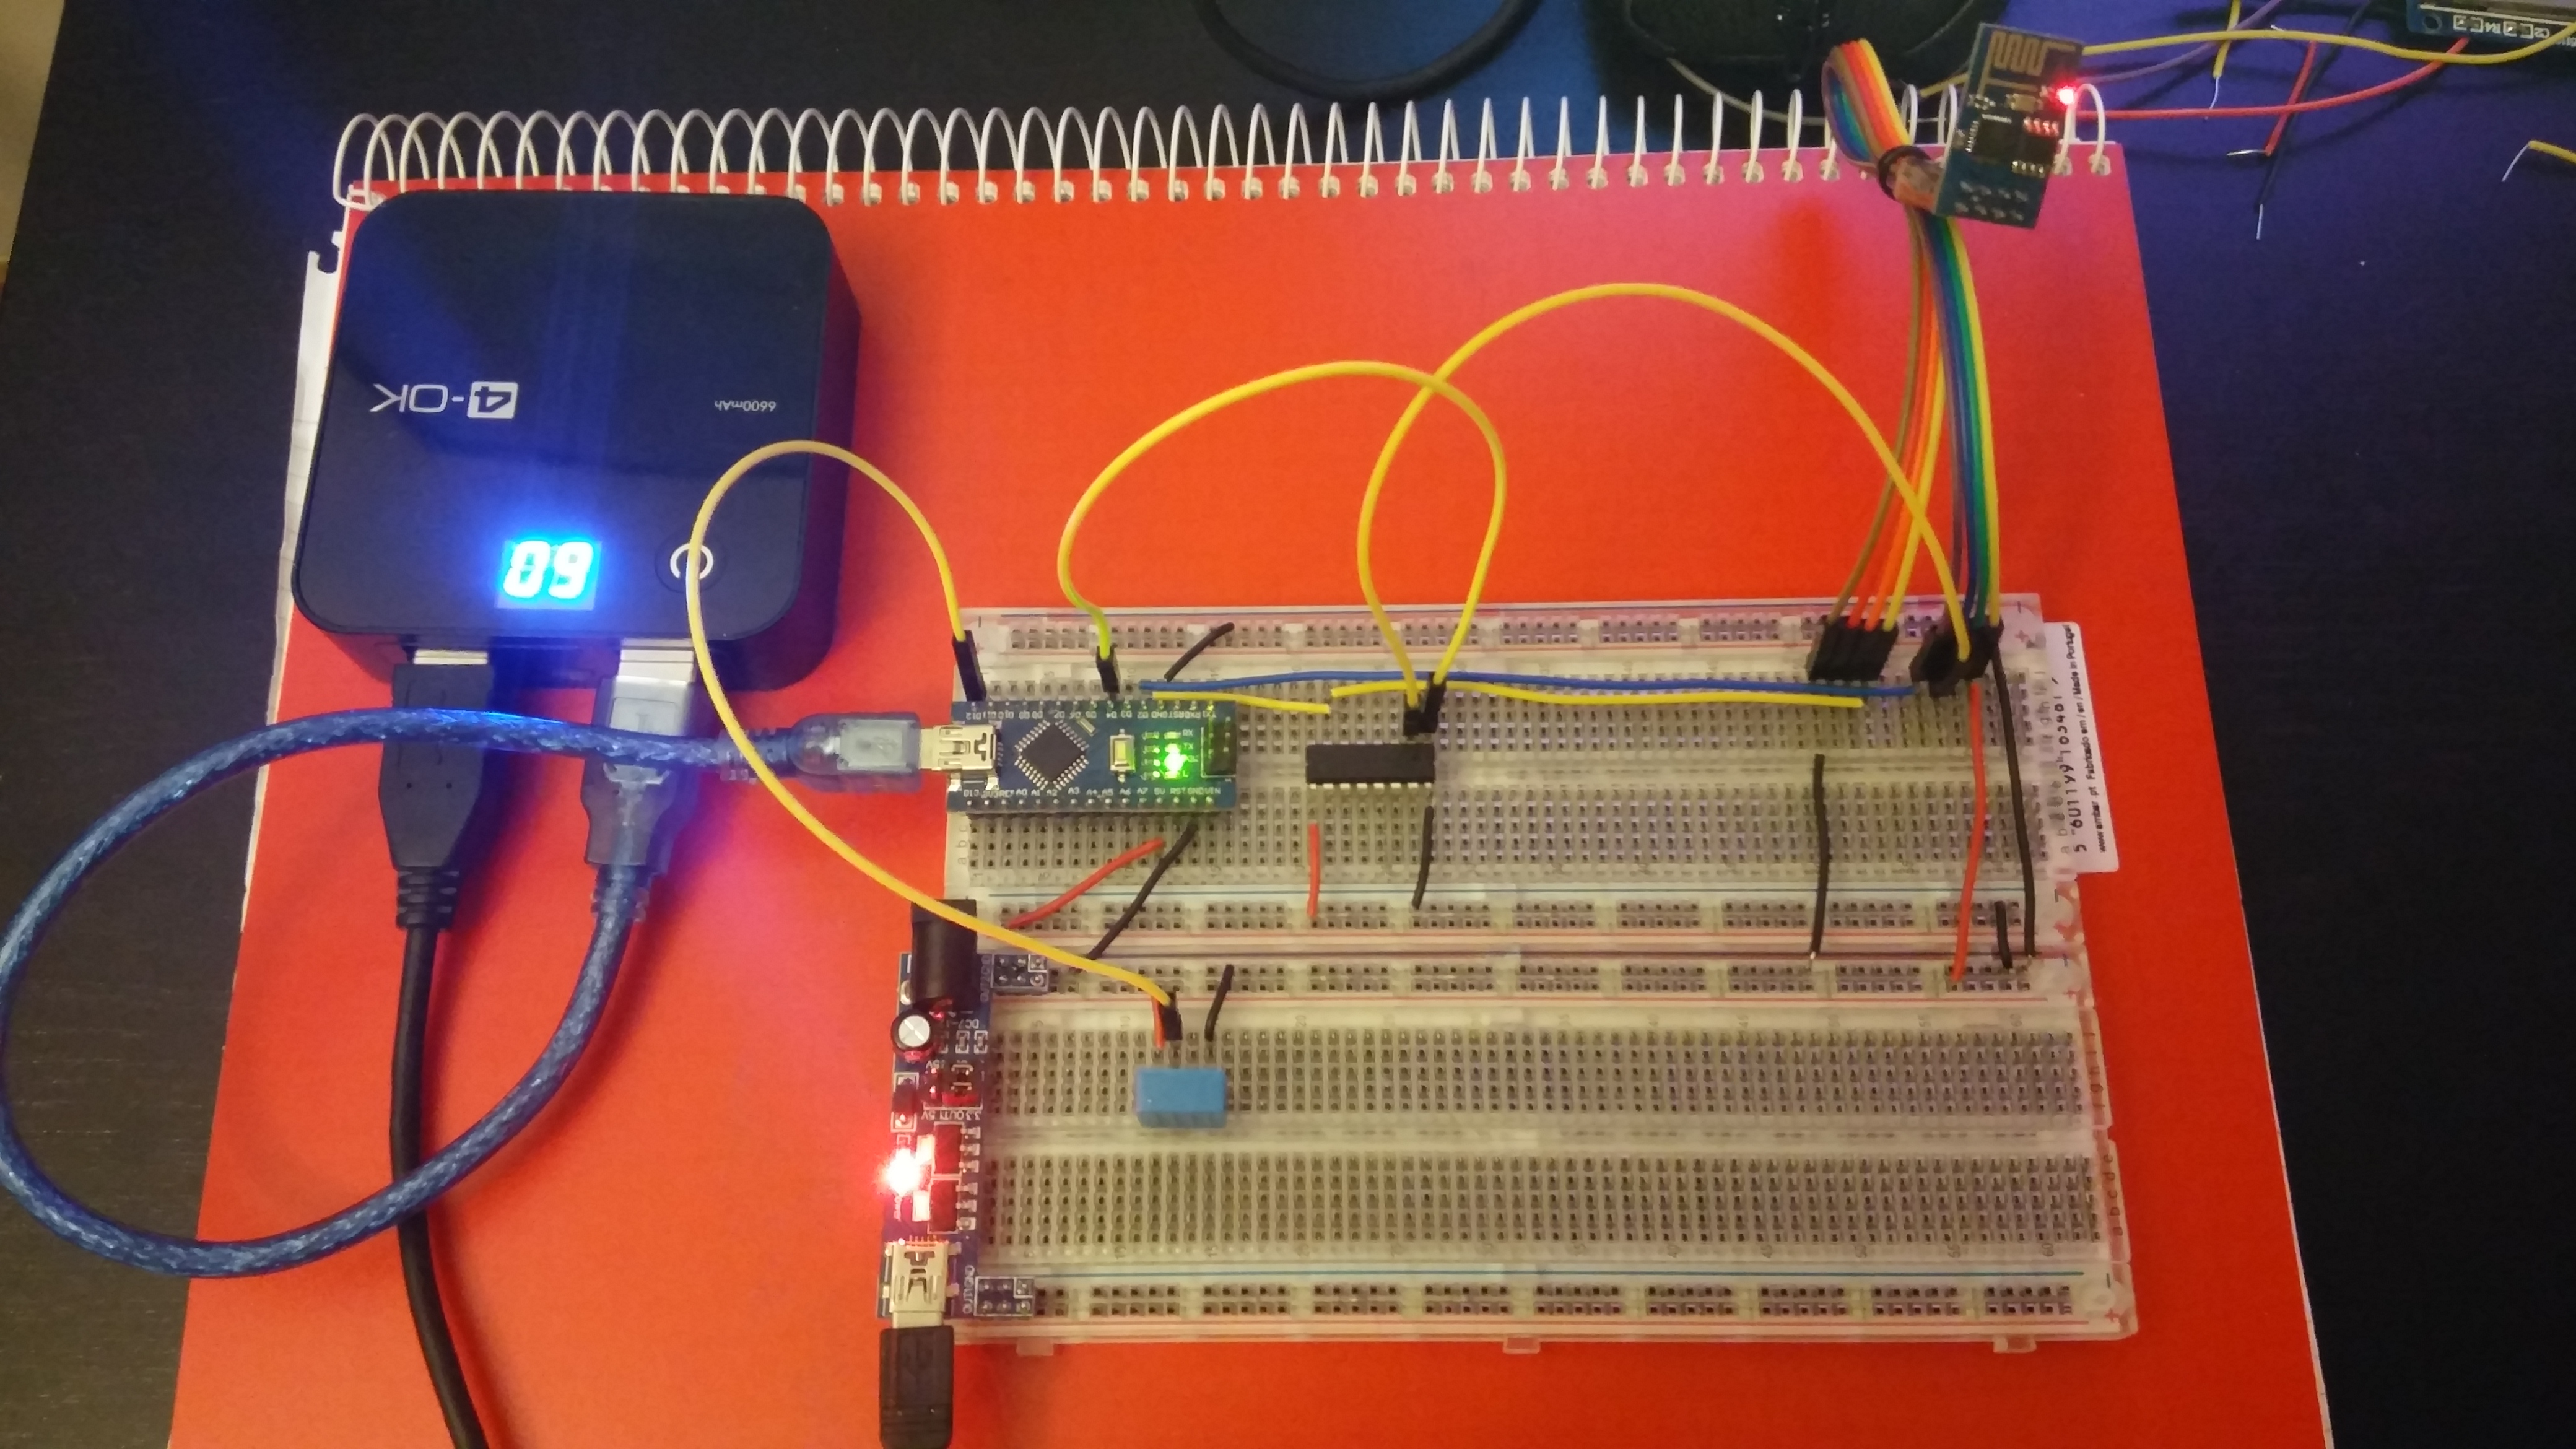
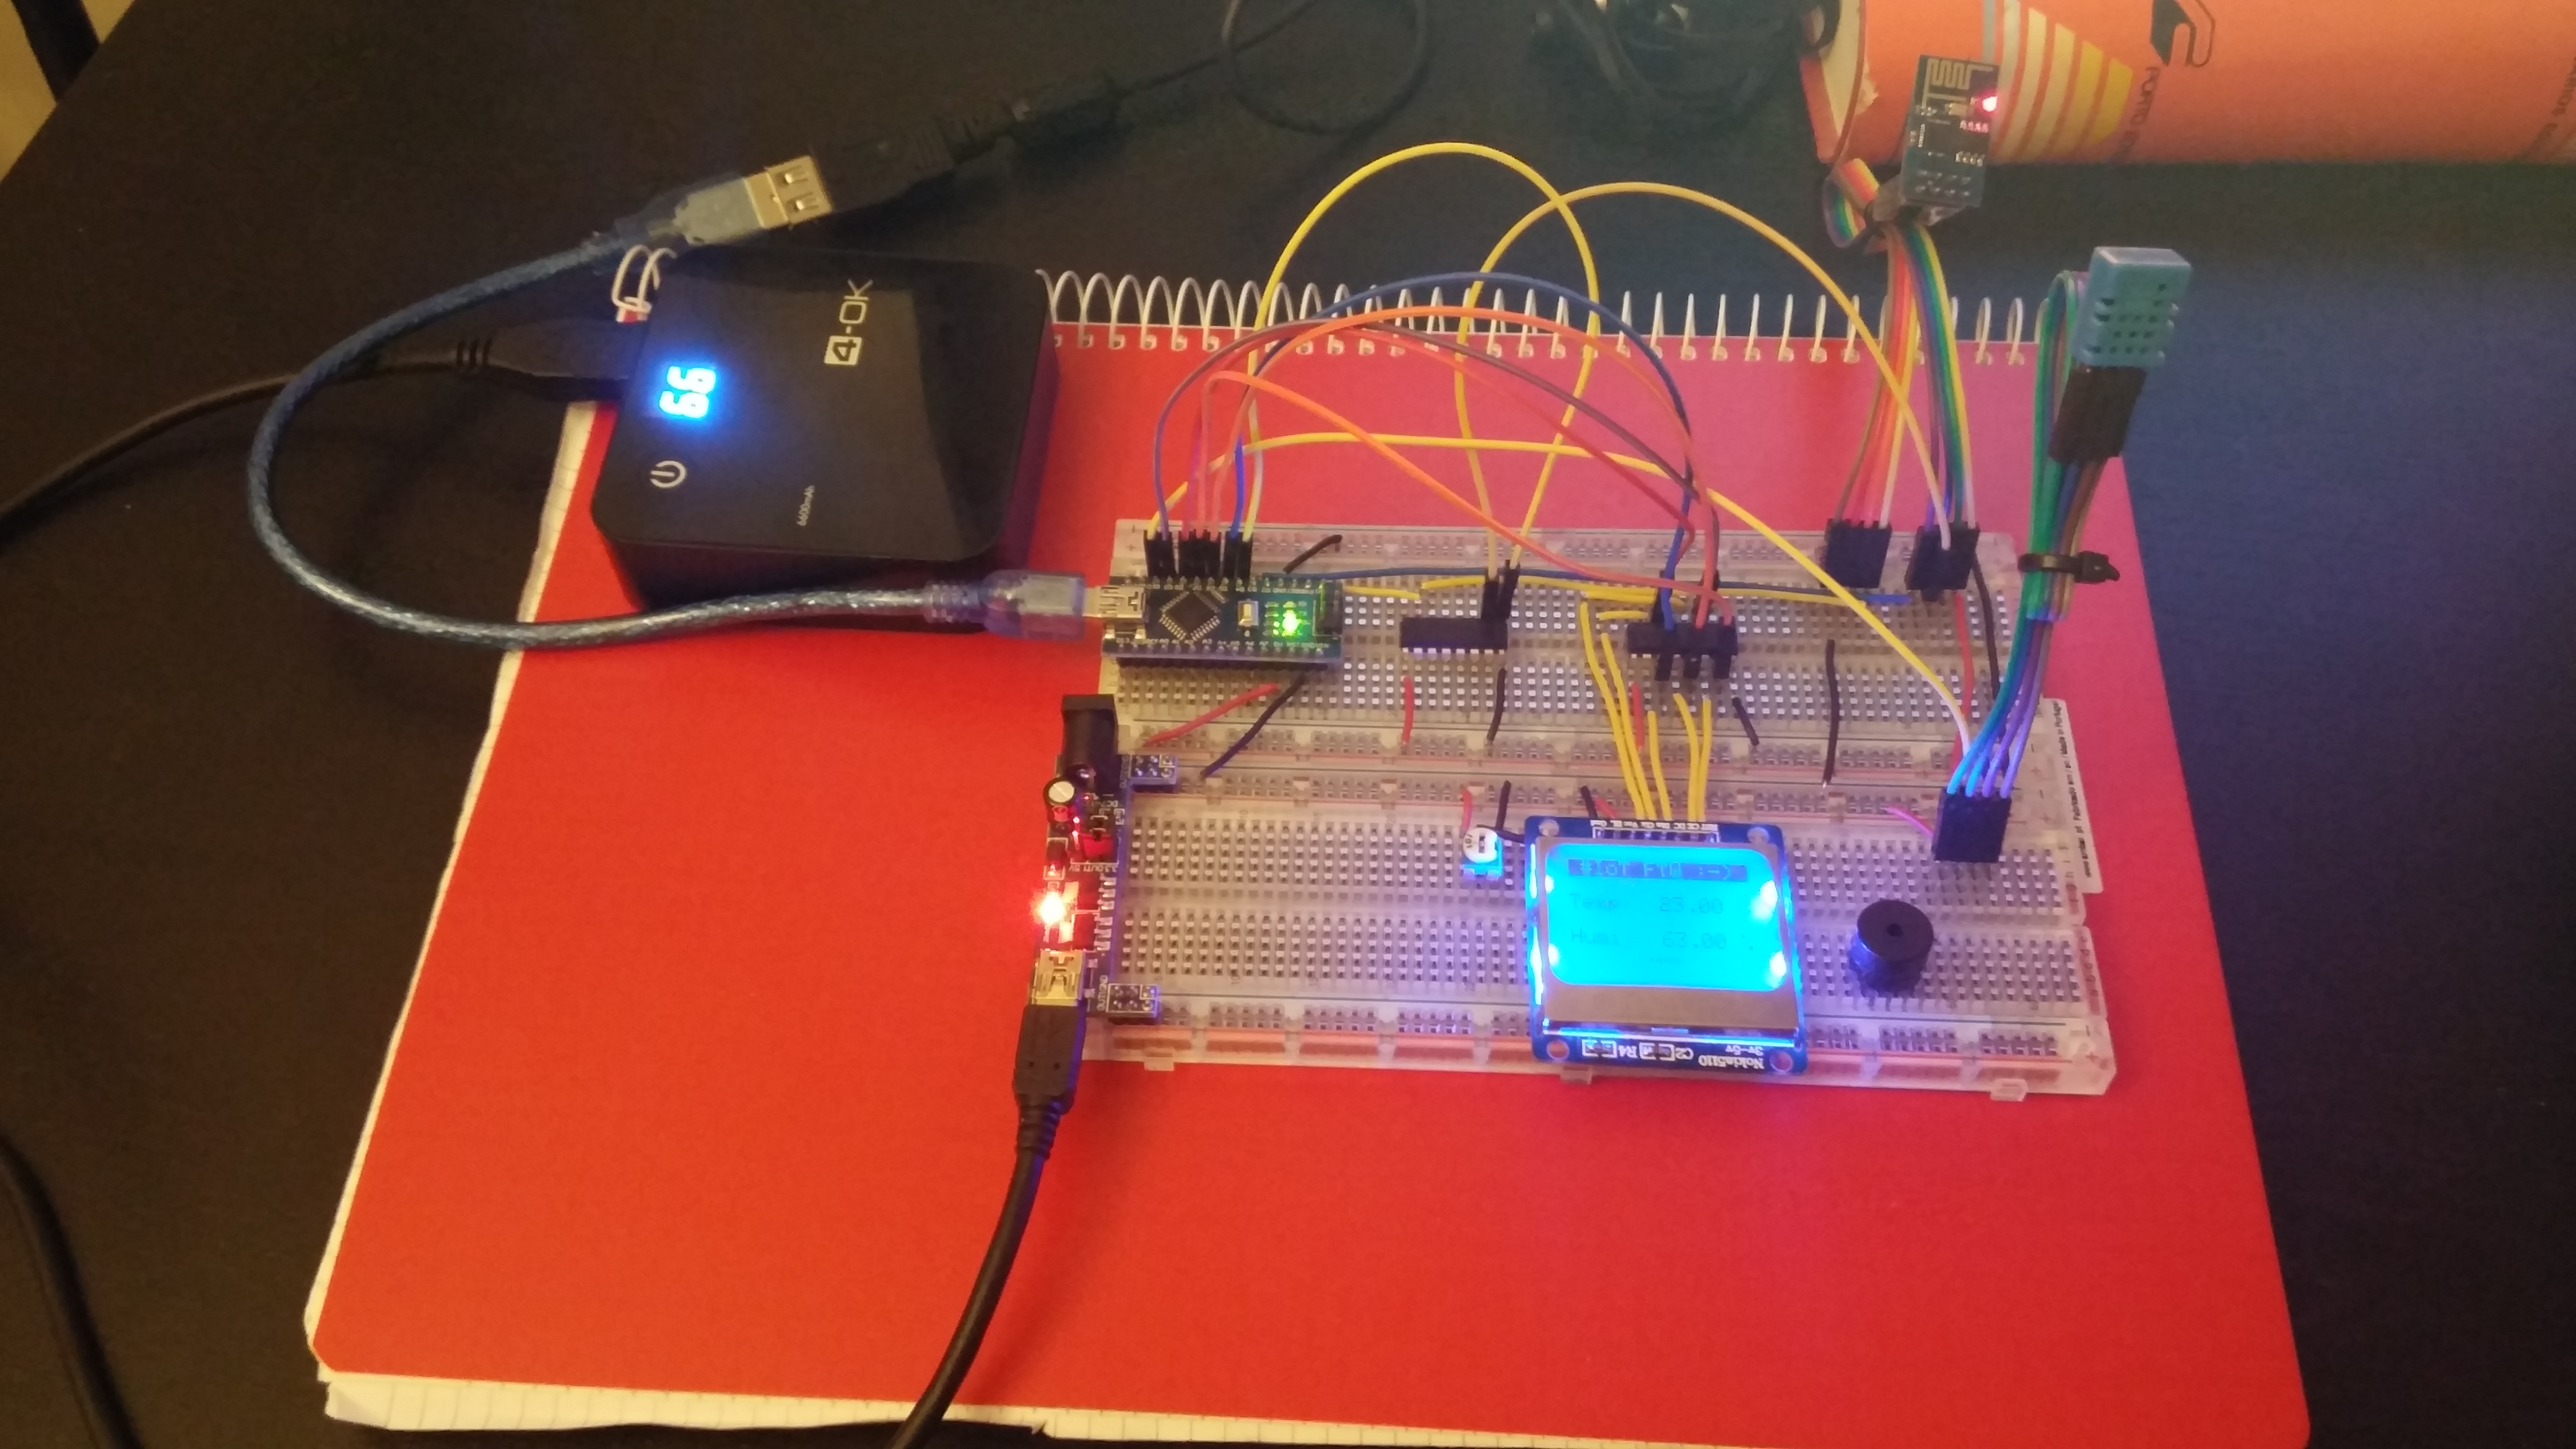
Wonderful! I’ve now made a thing which is officially a part of the so-called “Internet of Things”. It even has some practical use, I could argue! I connected a cheap DHT11 temperature/humidity sensor to an Arduino Nano and used the wonderful ESP8266 (ESP-01) device to enable the Arduino to talk to the Internet, posting their readings on the ThingSpeak platform. They even let you make widgets with your charts and put them on your own site!
There are many ways to achieve this, but in all of them Serial communication between the Arduino and the ESP8266 is somehow involved. For example, the ESP8266 is compatible with the Arduino IDE, so you can program it just like an Arduino. You could load in it a very simple program that posted to the internet values read from a Serial port. In fact, for this particular practical purpose I could use the ESP01 alone (connecting the sensor to one of the two ESP-01 GPIOs), but I chose to do this as an exercise to make the arduino Internet-capable. Since my ESP-01 modules have come from a bad batch with what I guess is a faulty memory chip, it makes it very hard to program them sometimes (because of random errors while flashing). So I just decided to stick with the standard serial AT commands firmware so I only have to flash the device once. The AT serial interface is not pretty at all, but it works very well!
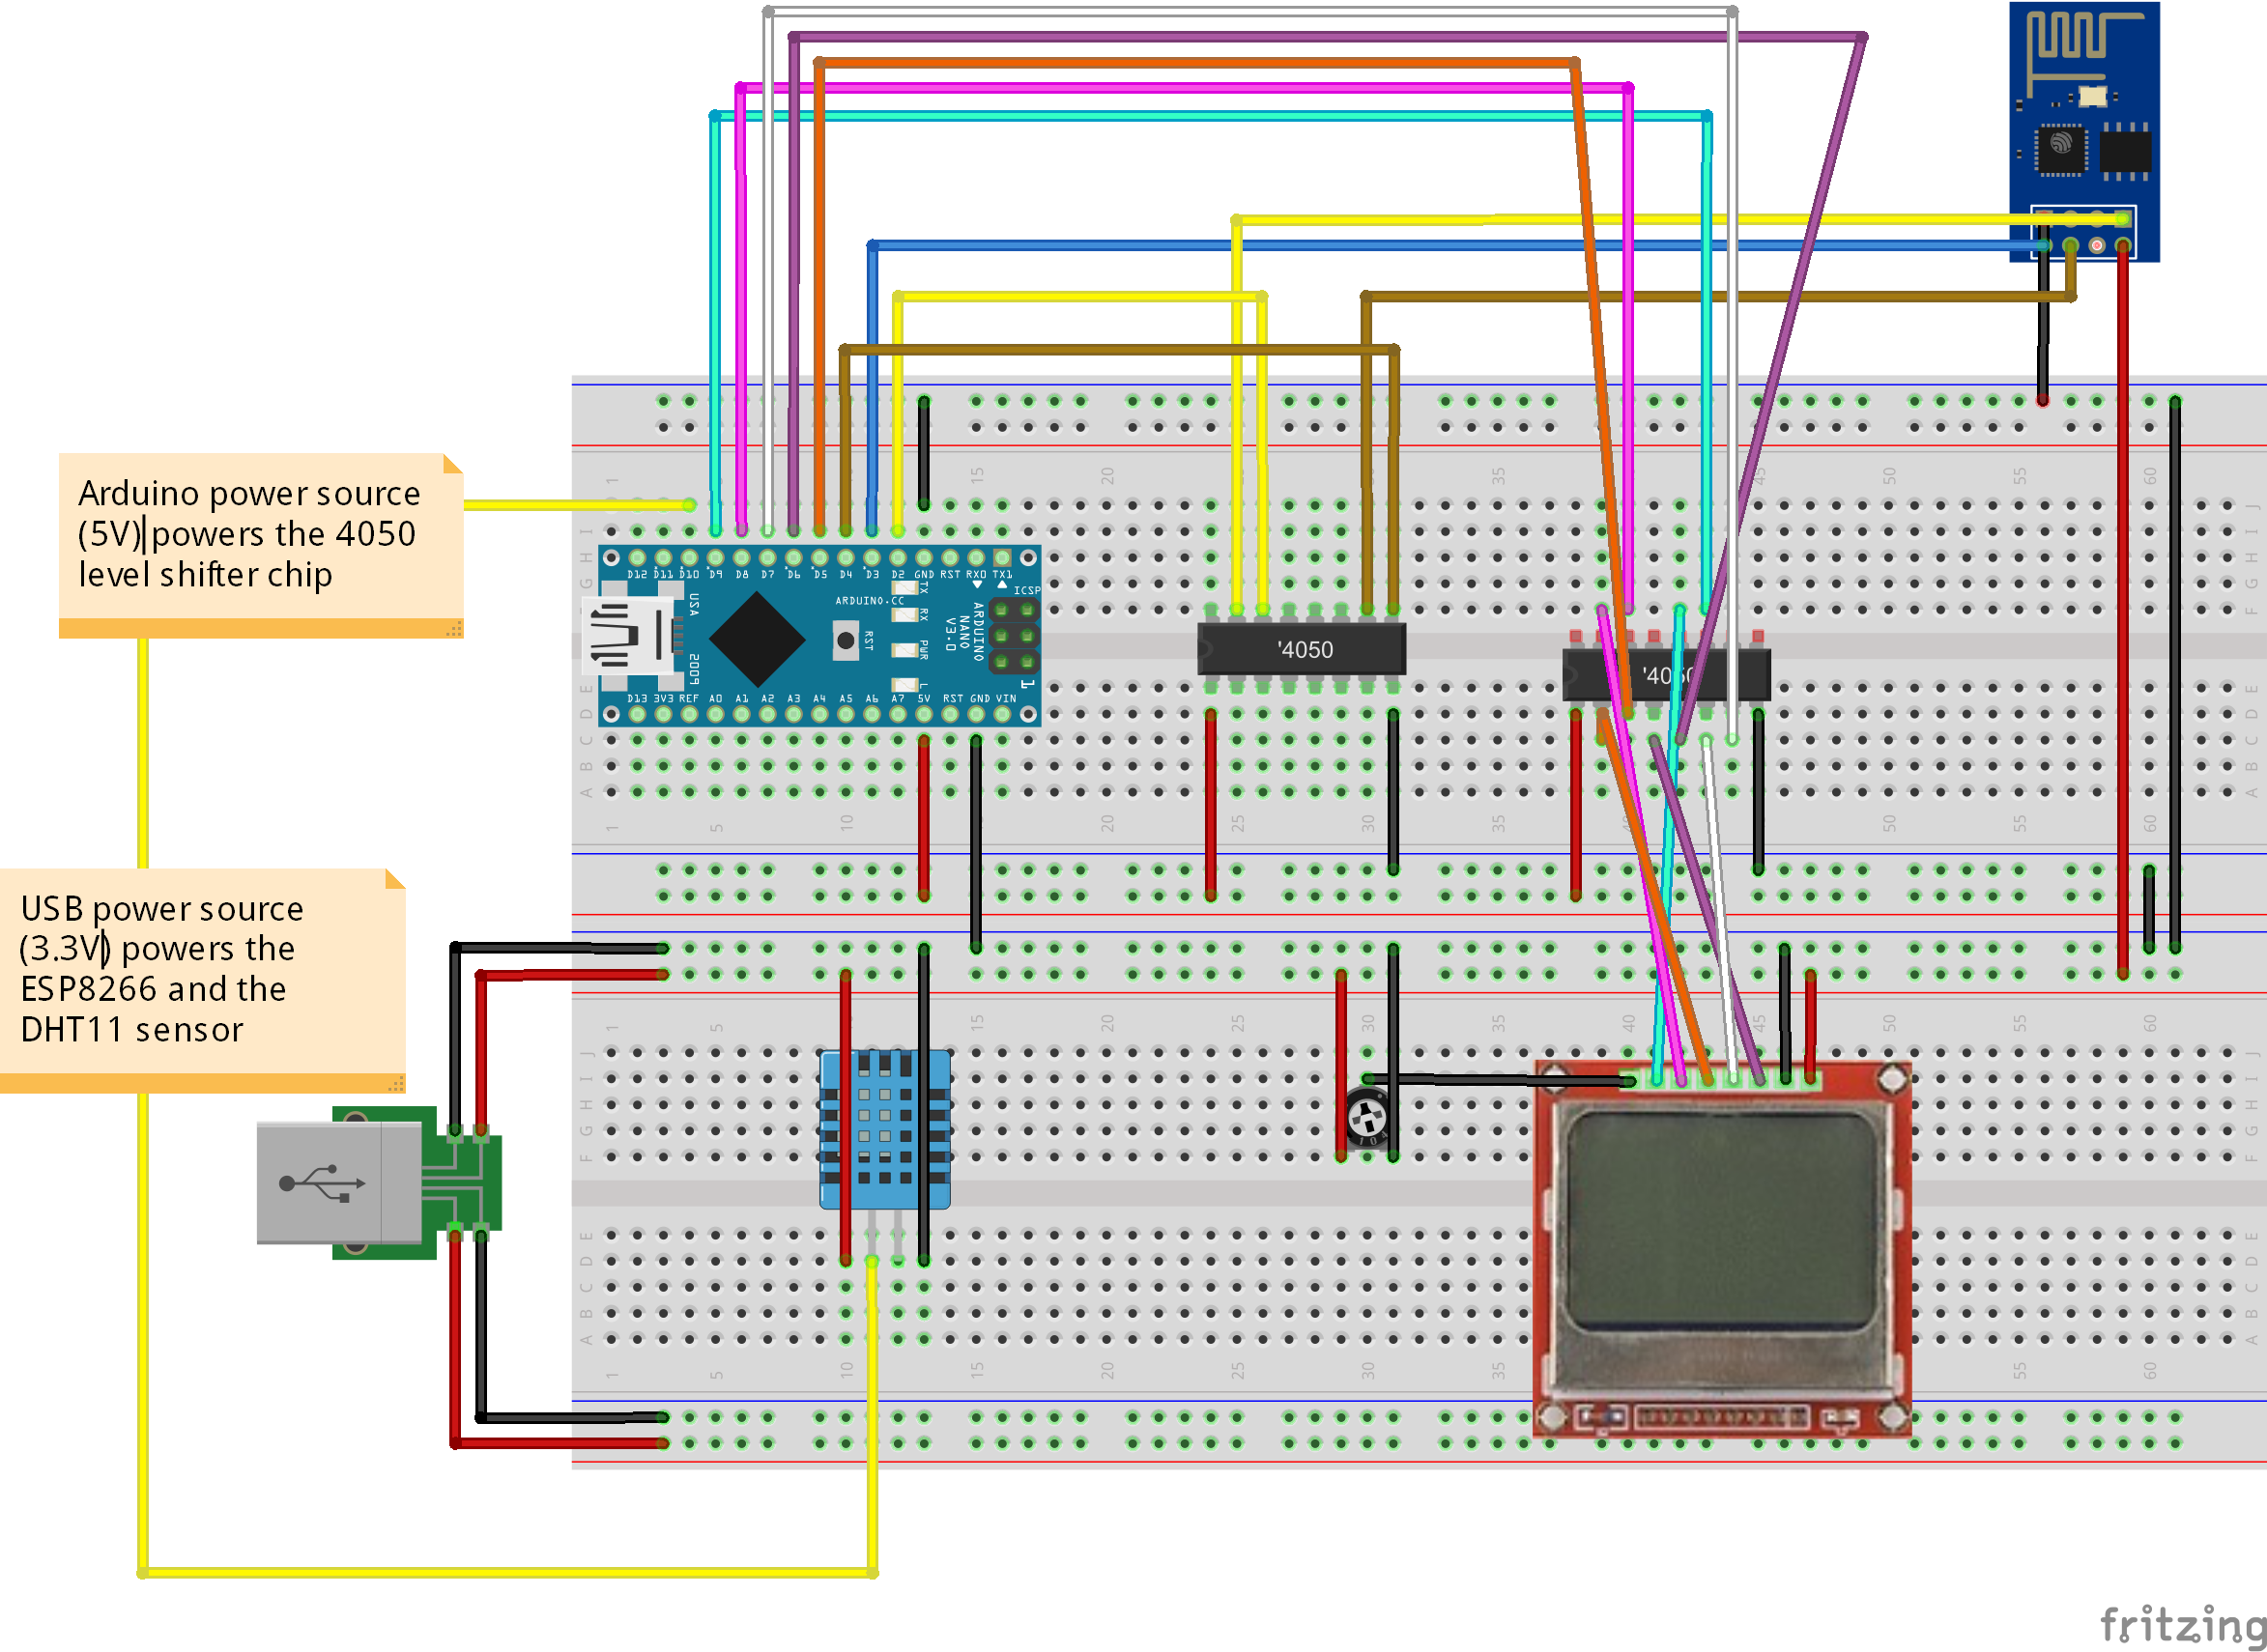
Eventually I decided that the thing would look better with an LCD display showing the sensor reads as they update. Since the Nokia LCD has 5 I/O pins that work on a 3.3V level, I needed to use another CD4050BE chip.
The circuit isn’t too much beyond simple and I learned a bunch of things in the process of developing it. There are some points I’d like to share:
- A proper power supply for the ESP8266 is MANDATORY. Do not just power it from the Arduino - It may work, at first. It probably will work. But then it’ll start behaving erratically and you might lose time blaming the behaviour on bad code. Like I did.
- The arduino operates with 5V signals, while the ESP8266 works in 3.3V. Instead of using resistors this time, I used a CD4050BE hex level shifter IC which does exactly this job (hex means it can do this for up to 6 signals). The level shifter may be optional, but I believe it made my Internet thing more stable. The ESP8266 seems to tolerate the 5V, until it does not and you just get erratic behaviour or a burnt ESP01.
- You can connect the CH_PD pin of the ESP01 (which is basically the on/off switch) to an Arduino pin so you can reset the ESP8266 via software.
- The Arduino Nano has a single hardware-enabled serial, so I had to use Software Serial. I’ve read somewhere that Software Serial fails at high baud rates, so I ended up using a firmware that works at 9600 baud, trading speed for stability. 9600 baud is fast enough for this practical purpose, anyway.
- A very hard part of this project was finding and flashing a suitable firmware on the ESP8266. This is of course mostly due to the faulty ESP01 units I have. The final flash I made took several tries over a couple of hours (it’s a process that is supposed to take seconds) and a hacked version of the esp8266 flash tool. I’ve learned that there are a BUNCH of AT command-style firmwares for the ESP which vary in the baud rate that they talk in and the line termination character combination (either LF or CR-LF). There was a lot of trial and error involved.
On the code side, it is just an exercise in reading and writing in Serial buffers. Making TCP connections with AT commands is a bit awkward, though. If you’re up to using the AT firmware I strongly suggest you experiment a bit with the commands on the device so you get a feel on how they work.
An objective I couldn’t make was using ITEADLIB_Arduino_WeeESP8266, an Arduino library for interfacing with WiFi via a Serial AT command interface. It is a lot cleaner that what I have. I could not get it work for a reason I could not determine. This would improve the code a lot.
The project’s code and Fritzing wiring scheme is hosted on GitHub.
#IoT ;-)


